Block your own IP address on Google Analytics to get more accurate visitor data

I'm pretty sure that you remember getting excited the first time you looked at Google Analytics. What would happen if I told you that most of those visits were yours?
That's it, unless you tell Google Analytics to block your very own visits, you will be counted as another visitor, and therefore accumulate rubbish data.
This might sound appealing to show off the number of visits that you have, even if they are fake, for some short-term strategies, like reporting to investors, potential partnerships or other deals. But unless you fail to deliver after the deal is done, you will be just cheating at solitaire. I do not recommend it.
Rather, I suggest we all play fair. Here's how to do it.
Step 1: Create a Google Analytics account
I don't think Google Analytics needs introduction, but it's basically one of the most used Google products out there. In short, it helps you to track your website's visitors over time and provides you with tonnes of useful data (if you know how to read it, that is!).
Click here to create a Google Analytics account. The process is simple enough, but if you get lost in the process check our their help page.
After this, you will have to include the Google Analytics code into your website. I could not explain it better than them, so you better check their help system.
Step 2: Log in to your account
During the signup process, you will have registered your "account", which is what you select in the first screen you see after the login. This is the screen:
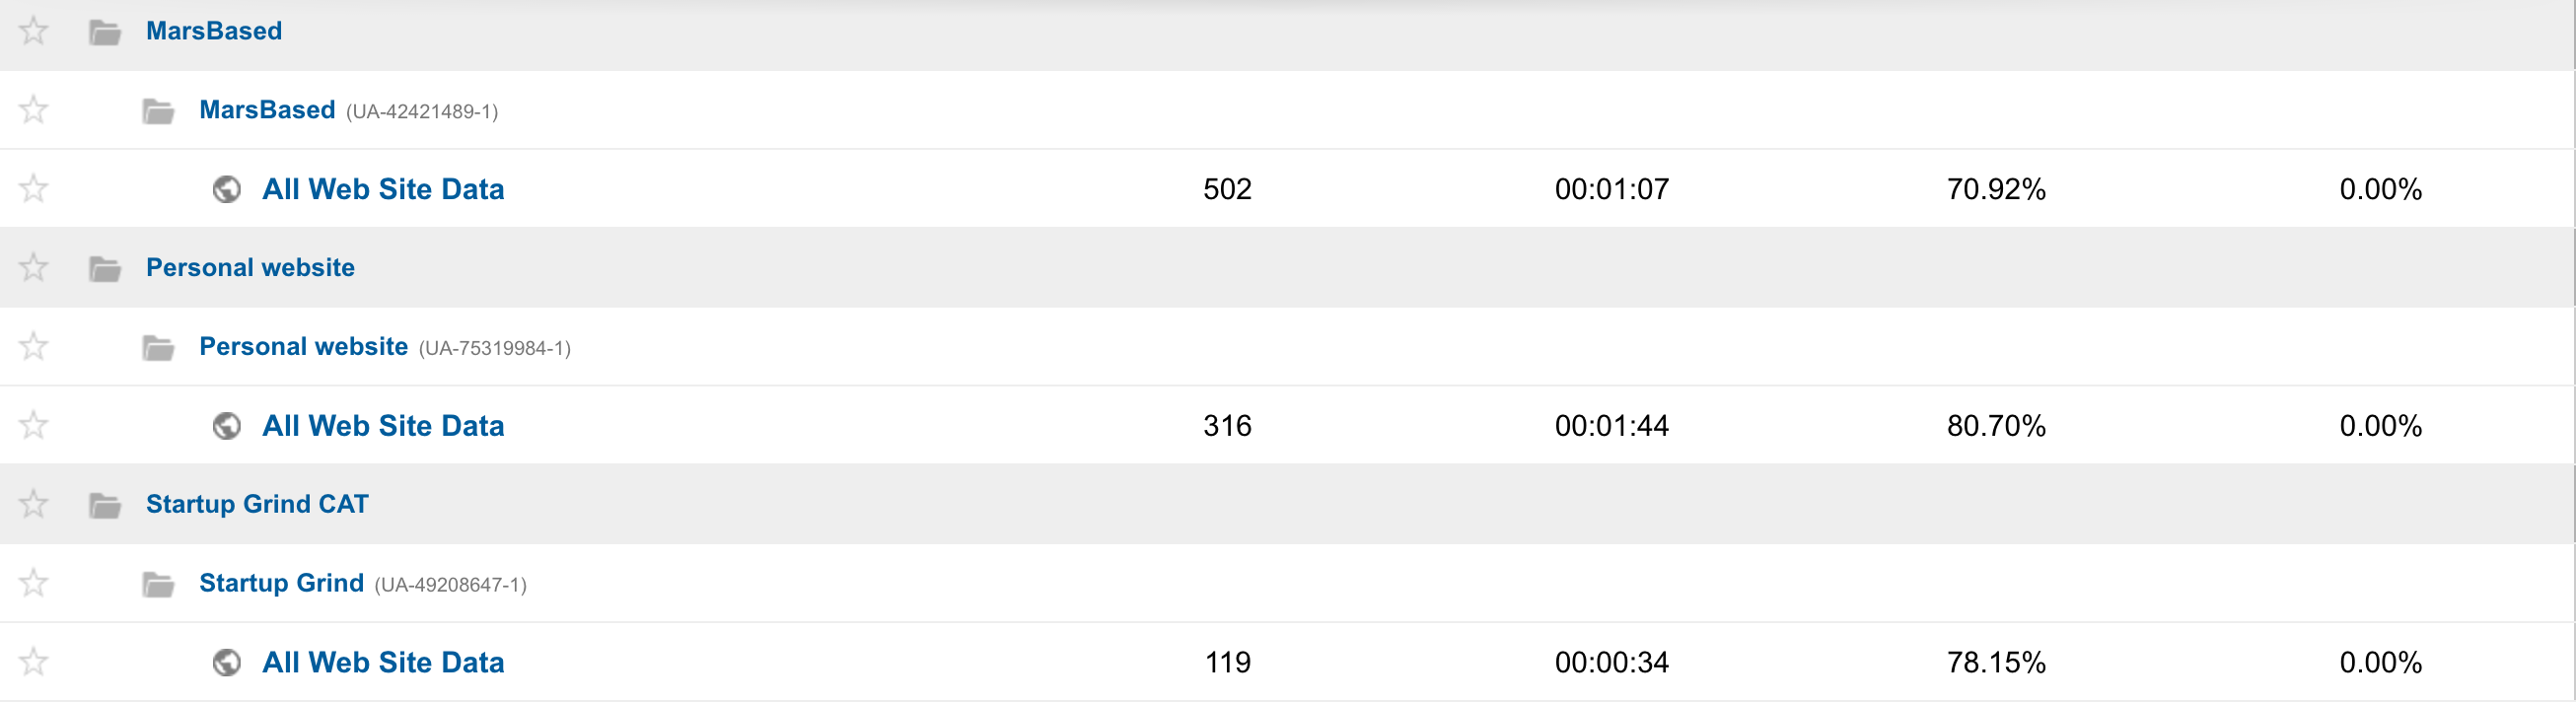 These are some of the websites I own.
Once you select your website, you will be presented with the website's dashboard.
Step 3: Create the filter
Before doing that, we might want to find out what is our IP address. Easy as a pie: just Google What's my IP and it will return something like this:
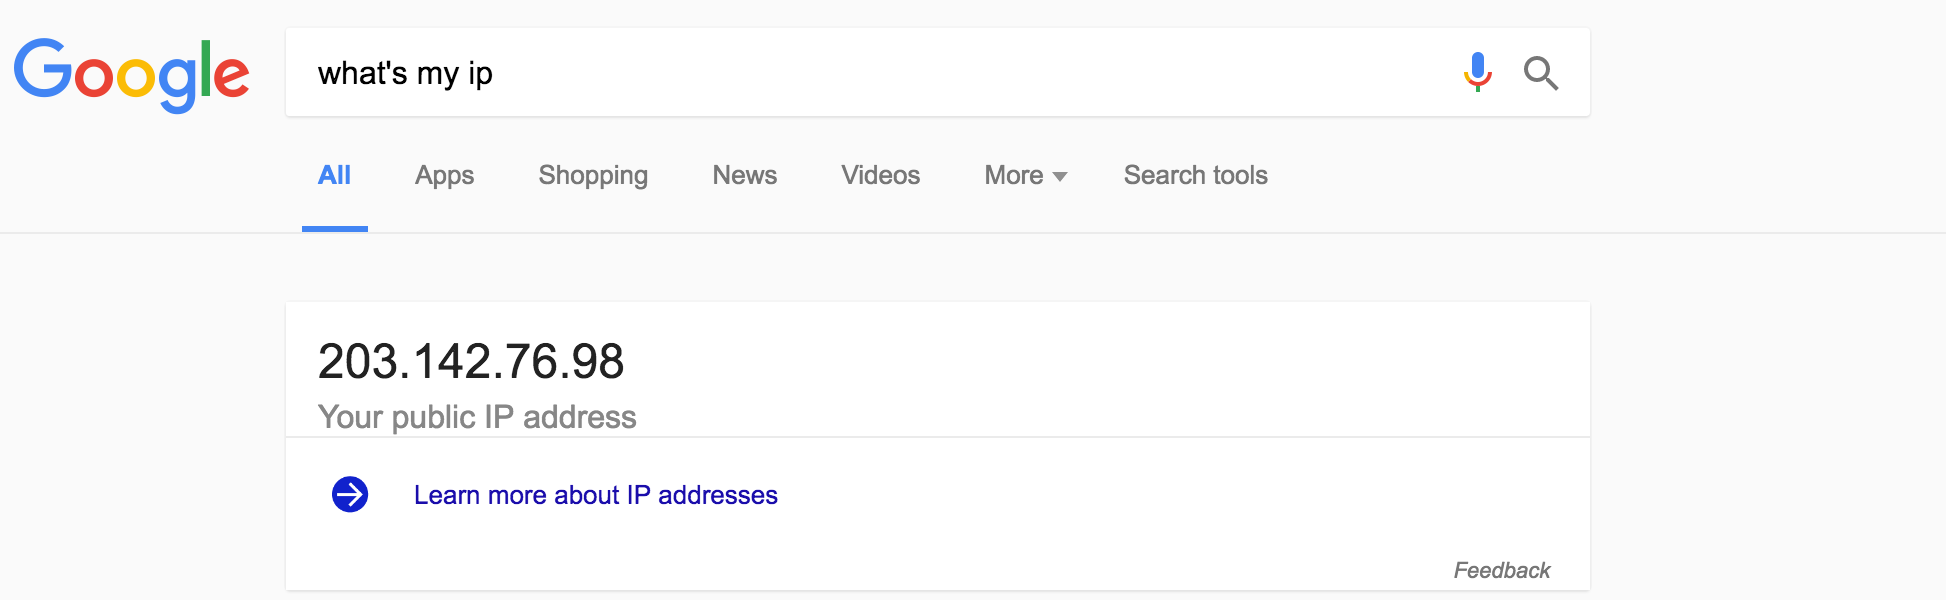 That's my IP right now. Come hack me!
Afterwards, we will go to the Administration tab, and we will be presented with this:
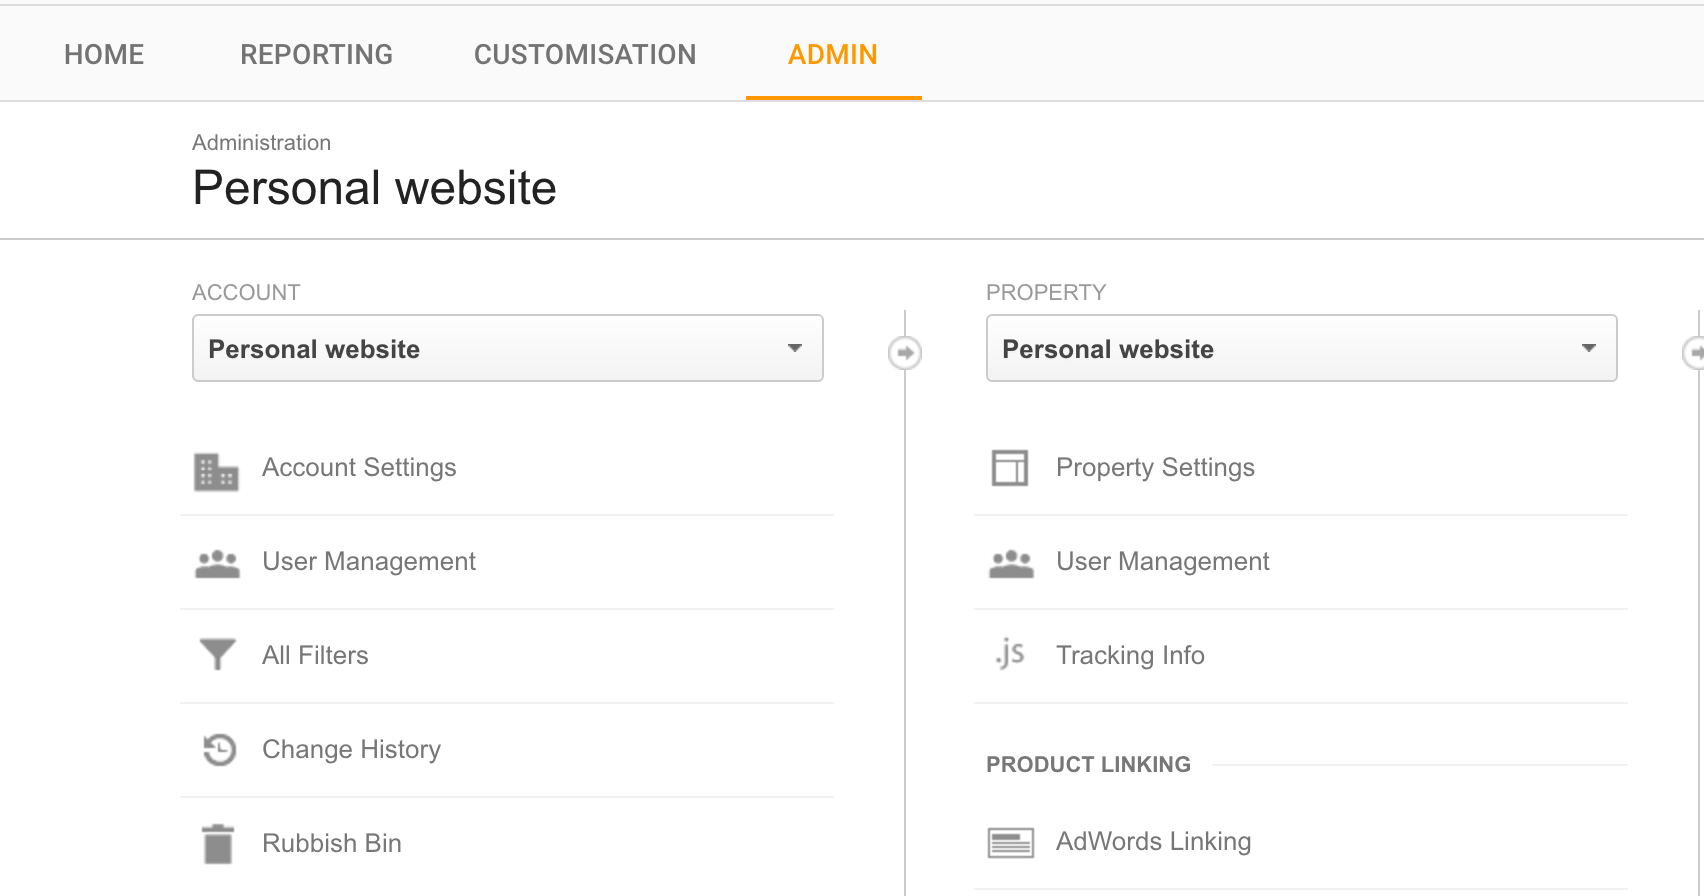 Google Analytics Administration Panel
Click on All Filters and then Add Filter. Once you're there, fill in the form with the following information:
- Filter Name: Whatever you want that will help you identify this filter (if you've got many).
- Filter Type: Predefined.
- Dropdowns: Exclude, Traffic from the IP addresses, that are equal to
- IP Address: The number you've gotten from Google.
It'll have to look like this:
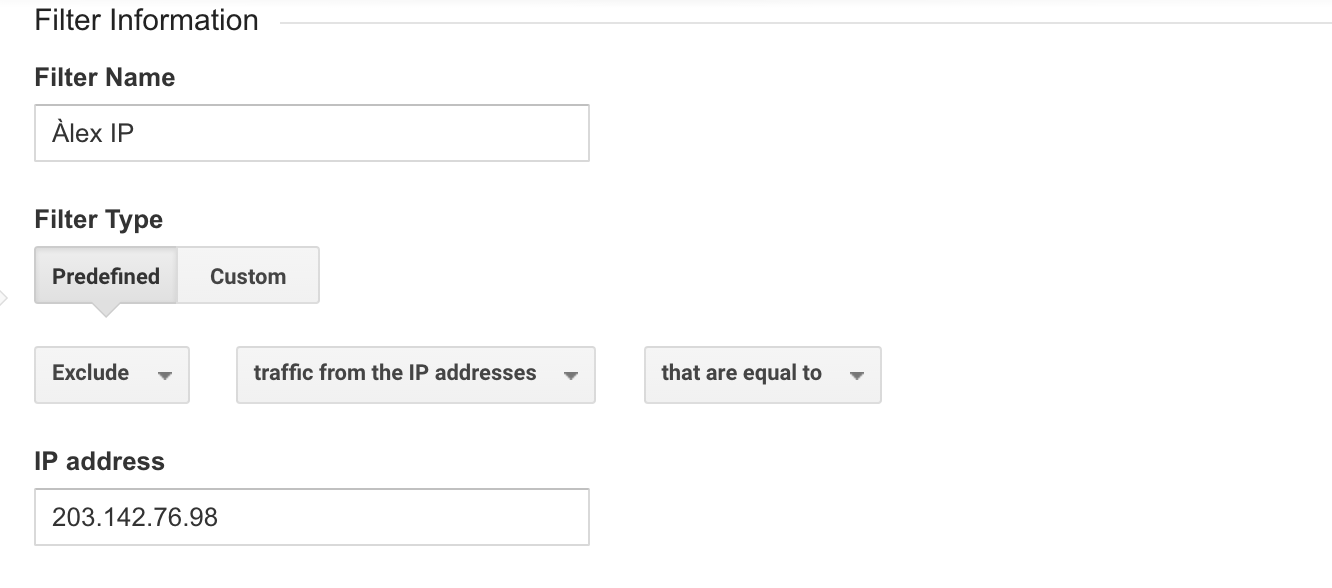 This is how a filter in Google Analytics looks like
Bonus: Create an additional filter to block localhost
Long story short, the filter we have created above only works if you're accessing the website once it's published. But if you're working with a local version (for instance, I am using Jekyll), you will be accessing (and therefore logging accesses) from 127.0.0.1 (localhost).
You can do two things to avoid this. If you're a developer, you can add Google Analytics as an environment variable so it only loads once the website is live.
If you're not a developer, or just do not want to deal with that, you can create the following filter:
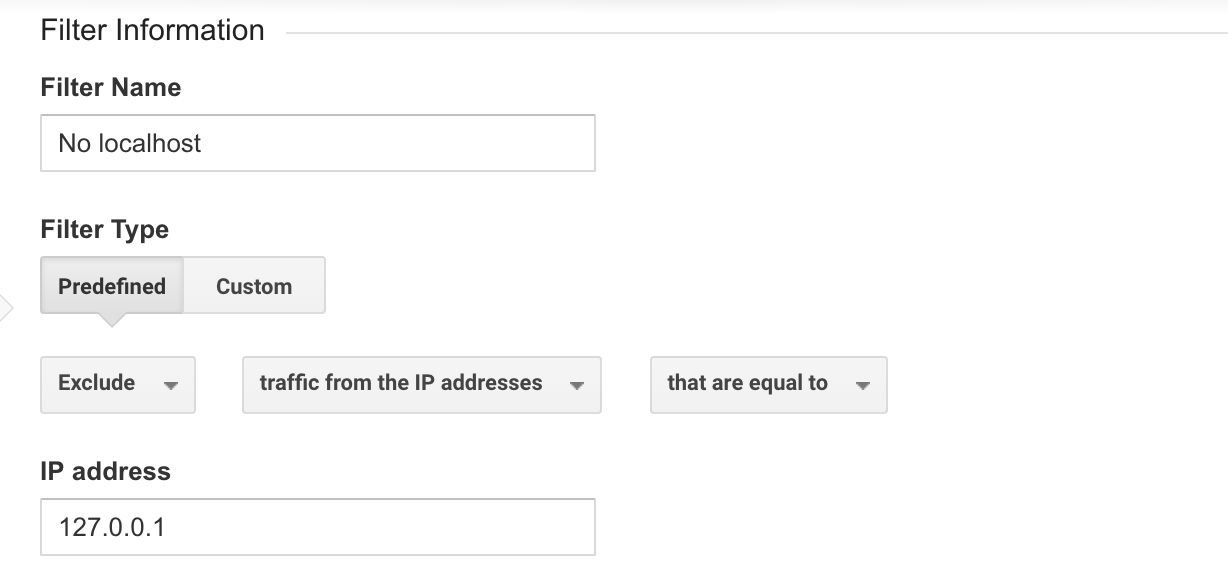 Google Analytics filter to block localhost